Photo guide
How to Take a Useful AI Hairstyle Try-On Photo
The source photo sets the ceiling for identity preservation and hair realism. A clean image cannot guarantee a good preview, but a weak one makes every later comparison less trustworthy and can waste both time and credits.
Try it on your photoOne free Safe Match · No card · Original deleted within 24 hours
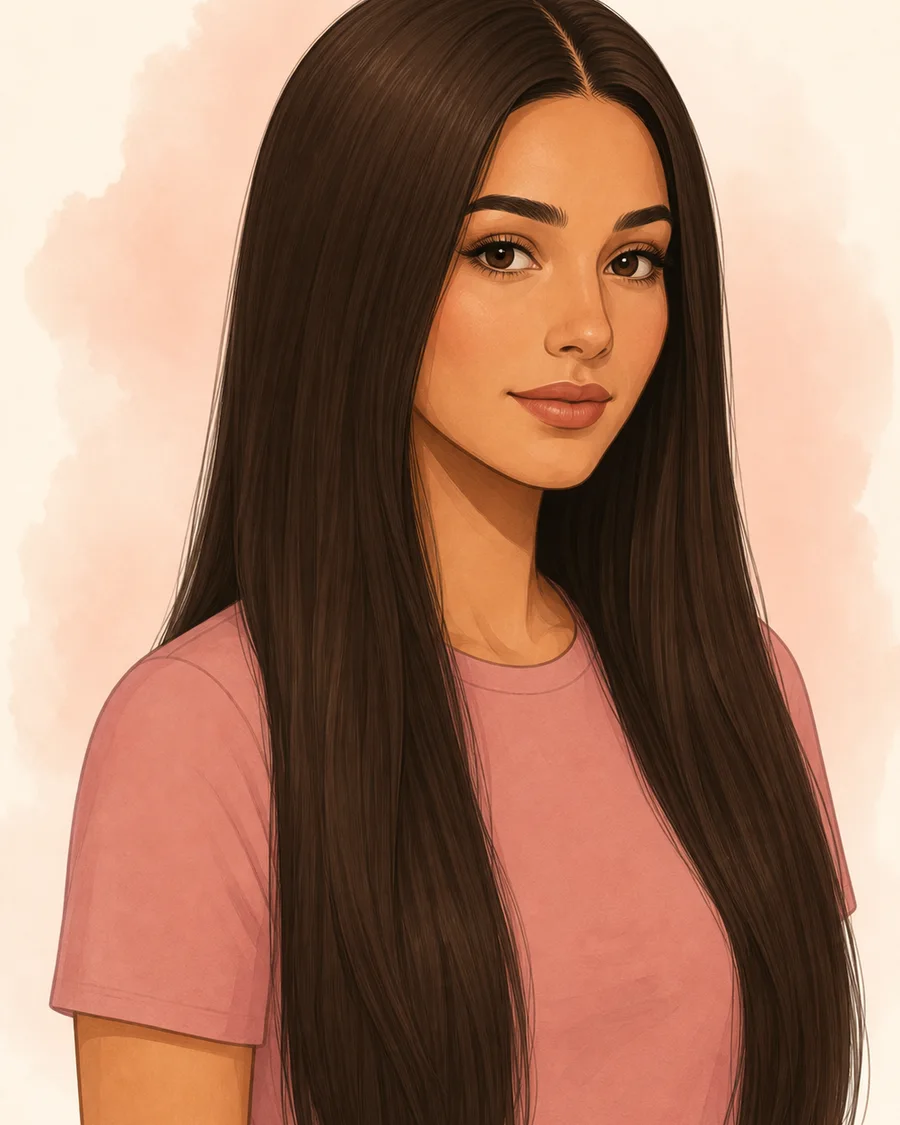
Useful directions
- One adult facing the camera in soft, even, neutral light
- The full head, hairline, jaw, ears, neck, and shoulders visible
- A neutral expression, ordinary texture, and minimal retouching
Check before cutting
- Beauty filters, portrait blur, face reshaping, or hair-enhancing effects
- Strong side angles, cropped crown, backlight, colored light, or hard shadows
- Hats, sunglasses, hands, dense flyaways, or hair covering key boundaries
01
Use light that reveals boundaries instead of flattering them away
Stand facing a large window, open doorway, or soft shaded light. The goal is not a dramatic portrait; it is an image where the forehead, temples, hair edges, ears, jaw, neck, and shoulders can be compared before and after generation. If one side of the face is much darker, the model has less reliable information about that boundary and may invent symmetry or texture.
Avoid direct overhead light that creates deep eye and jaw shadows, strong backlight that turns the hair edge into a silhouette, and colored lamps that change skin and hair tone. Turn off portrait-mode blur. A simple room background is acceptable as long as hair does not disappear into a similar dark or bright area.
- Check the temple on both sides: can you see where skin ends and hair begins?
- Check dark hair against a dark background and light hair against a pale background for lost edges.
- If exposure changes when you move, lock it or step farther from the window for more even light.
02
Set camera position before arranging the hair
Hold the camera near eye level, keep it upright, and place it far enough away to include the crown and shoulders. A very close phone camera can enlarge the center of the face relative to the sides; a high angle shortens the lower face; a low angle changes the jaw and visible nostrils. Use the rear camera with a timer if it helps you increase distance without losing sharpness.
Face the lens with the head level rather than correcting your posture by watching the screen. Keep both ears at a similar height and avoid leaning. A small natural asymmetry is fine; the point is to prevent the camera angle from becoming the main source of the shape analysis.
03
Show the current hair honestly
Use dry hair in a state you recognize from an ordinary day. Do not wet it, stretch curls, flatten it under a hat, or add temporary fibers for the assessment photo. If you normally wear a part, let it show. Move only enough hair away from the forehead and outer jaw to reveal the boundaries needed for analysis.
For fringe, show where it naturally separates rather than forcing a perfect center opening. For curls and coils, keep the usual dry volume and shrinkage. For a visible hairline concern, remove concealing product. Honest evidence makes the preview less polished at the start but more useful for deciding what a real cut can do.
04
Remove filters and hidden camera processing
Beauty modes can smooth skin, enlarge eyes, narrow the jaw, reshape the nose, thicken hair, or blur edges without making the change obvious. Social apps may apply effects automatically. Use the standard camera app and compare the photo with a mirror or another neutral image. If facial features or the hairline look unusually perfect, retake it with all enhancements off.
Compression is less damaging than reshaping, but avoid repeatedly saving screenshots or sending the image through messaging apps before upload. Use the original file when possible. HairFit checks file format and basic image suitability; it cannot promise to detect every invisible retouching operation.
05
Run a one-minute source-photo audit
Zoom to the forehead, temples, ears, jaw, and shoulders. Confirm that no area is blurred, clipped, covered, or merged into the background. Check that the crown is inside the frame and that only one adult appears. Look for motion blur around eyelashes and individual strands; if they smear when zoomed, add light or steady the phone.
Then compare the image with your normal appearance. If the lens or expression feels unrepresentative, take another. A relaxed closed-mouth or gentle neutral expression is easier to compare than a wide smile that changes the jaw and cheek outline. Keep two candidates and choose the clearer one rather than the more flattering one.
A practical comparison
A useful source photo versus a risky one
The best source is not the most polished portrait. It is the one that gives the model and you clear evidence at the boundaries that must stay consistent.
| Compare | Useful source | Risky source |
|---|---|---|
| Light | Soft and even from the front, with detail visible on both sides of the face and hair. | Backlit, strongly colored, or split by hard shadow, causing edges and tone to disappear. |
| Camera | Near eye level, enough distance to reduce lens distortion, full crown and shoulders included. | Very close selfie, high or low angle, tilted head, or cropped top and sides. |
| Hair evidence | Dry natural state, usual part, visible hairline, no temporary concealment or forced texture. | Wet, heavily styled, hidden by accessories, stretched, or enhanced by fibers and filters. |
| Identity evidence | Standard camera, neutral expression, natural skin detail, sharp eyes and edges. | Beauty mode, portrait blur, face reshaping, extreme expression, or repeated screenshot compression. |
Use this page
A step-by-step decision check
-
Step 1
Prepare the setting
Choose soft front light and a simple background with enough contrast against your hair. Clean the camera lens and disable portrait blur, beauty mode, and filters.
-
Step 2
Frame from eye level
Move the phone farther away rather than using an extreme close selfie. Include crown, sides of the hair, ears, full jaw, neck, and shoulders.
-
Step 3
Reset to ordinary hair
Let the hair dry in its common texture and part. Remove hats, sunglasses, hands, heavy accessories, and temporary products that hide the hairline.
-
Step 4
Take several neutral frames
Keep the head level and expression relaxed. Take three or four frames so one blink, motion blur, or exposure shift does not force a compromise.
-
Step 5
Audit at full size
Zoom into hairline, temples, ears, and shoulders. Choose the sharpest, most representative image—not the one with the strongest pose or smoothing.
Questions to take to your stylist
Use these as conversation starters. Your stylist can inspect the hair in person and choose the technique.
- Does this source photo show my everyday dry texture and part accurately enough for the consultation?
- Which additional angle would help you assess density, crown growth, or the current perimeter?
- Is any product or previous styling in this photo hiding how the hair normally behaves?
- Should I bring a freshly washed air-dried photo as well as the styled reference?
- What physical hair information do you need that no photograph can provide?
Frequently asked
What to know before you choose
Should I tie my hair back for an AI hairstyle photo?
Usually keep it down in its normal dry state while making the hairline and outer jaw visible. Pulling it tightly back can hide current length, texture, and volume. Follow the specific tool’s prompt if it requests a different setup.
Can I use a mirror selfie?
A mirror image can work if the phone does not cover the face, the image is sharp, and the camera is level. A timer photo is often easier because it allows more distance and clearer framing.
Is a passport-style photo ideal?
The neutral angle and even light can help, but a tightly cropped passport photo may omit the crown, hair sides, and shoulders. Use similar neutrality with a wider frame that shows the full hairstyle boundary.
What file should I upload?
Use the original supported image from your camera when possible. Avoid screenshots and repeated messaging-app saves. HairFit accepts common image formats and checks the actual format rather than trusting only the filename.
Will a better photo guarantee an accurate preview?
No. It reduces avoidable uncertainty and makes identity checks easier, but generation can still create artifacts or invent hair. Always compare the result with the source before using it for a salon decision.
See it before you decide
Start with one free Safe Match
Upload first, review the explanation and identity match, then decide whether another direction is worth one credit.
Upload a selfie